Lo primero que vamos hacer es crear desde cero una nueva
máquina virtual. El sistema operativo que vamos a utilizar lo
cogeremos desde un archivo ISO descargado mediante la aplicación
Media Creation Tool de Microsoft. Comencemos el proceso.
·
Lo primero que debemos hacer es abrir VirtualBox y darle al botón “crear”. De
esta forma comenzaremos el asistente de creación de la máquina virtual
·
Nos aparecerá una ventana en la que debemos pulsar el botón inferior “Modo Experto”

·
En la primera pantalla colocamos el nombre de la máquina y
elegimos que sistema queremos instalar
·
También debemos asignar una cantidad de memoria
RAM a la máquina virtual. Según la que tengamos disponible en
nuestro equipo podremos asignarle una cantidad
personalizada
·
Como es una máquina virtual nueva, elegimos la opción “Crear un disco duro
·
virtual nuevo”
·
Una vez todo listo, pulsamos en “Crear”

·
Para elegir un directorio en donde crear nuestra
máquina pulsamos sobre el icono de la carpeta con la flecha
verde en la parte superior derecha
·
Ahora debemos asignarle la cantidad de almacenamiento al disco duro
virtual. Podremos asignarle lo que queramos realmente, porque VirtualBox creará este espacio de forma dinámica en el disco
duro físico.
·
Elegimos la opción “Reservado dinámicamente”
·
Como extensión del disco duro virtual recomendamos elegir VDI (nativo
de VirtualBox) o VMDK (nativa de
VMware) o VHD (nativo de discos virtuales de Windows)
·
Ahora pinchamos en “Crea

·
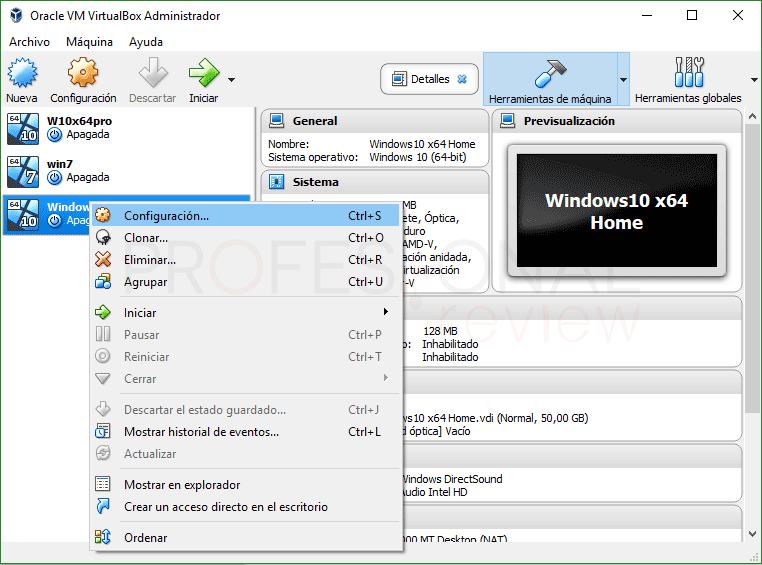
Para abrir las opciones de configuración de la máquina virtual debemos
de pulsar sobre la máquina virtual crear con botón derecho y elegir “Configuración”

·
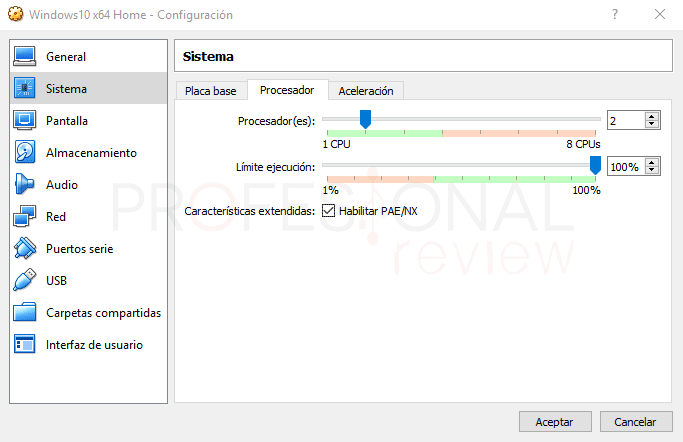
Nos vamos a la pestaña “Sistema” y nos
situamos sobre la pestaña “Procesador”
·
Elegiremos cuantos núcleos podrá utilizar la máquina virtual

·
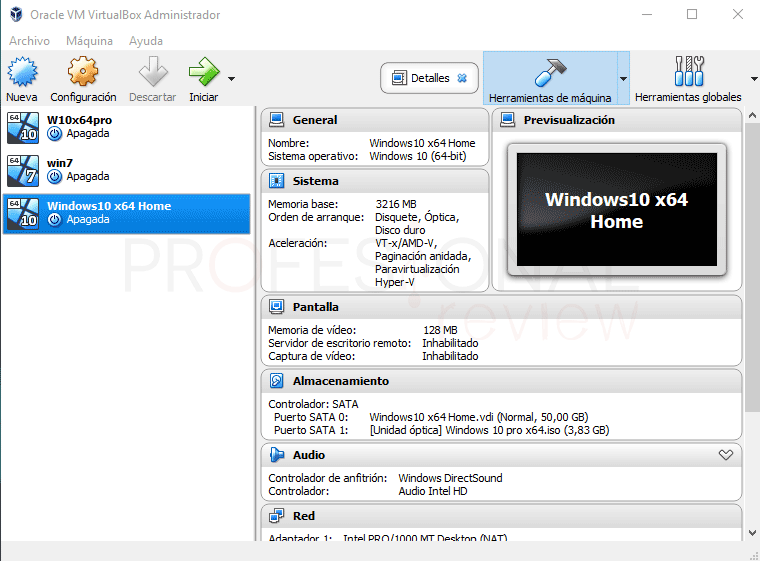
Lo siguiente será asociar la imagen ISO del sistema operativo a la
máquina virtual para poder instalar el sistema
·
Pulsamos sobre “Almacenamiento”
·
Seleccionamos el icono del CD en la sección de “Dispositivos de almacenamiento”
·
En la parte derecha, pulsamos nuevamente sobre el icono del CD y
pinchamos sobre “Seleccione archivo de disco óptico virtual”

·
Ahora tendremos que buscar en el exportador de archivos dónde tenemos
almacenada nuestra imagen ISO del sistema operativo
·
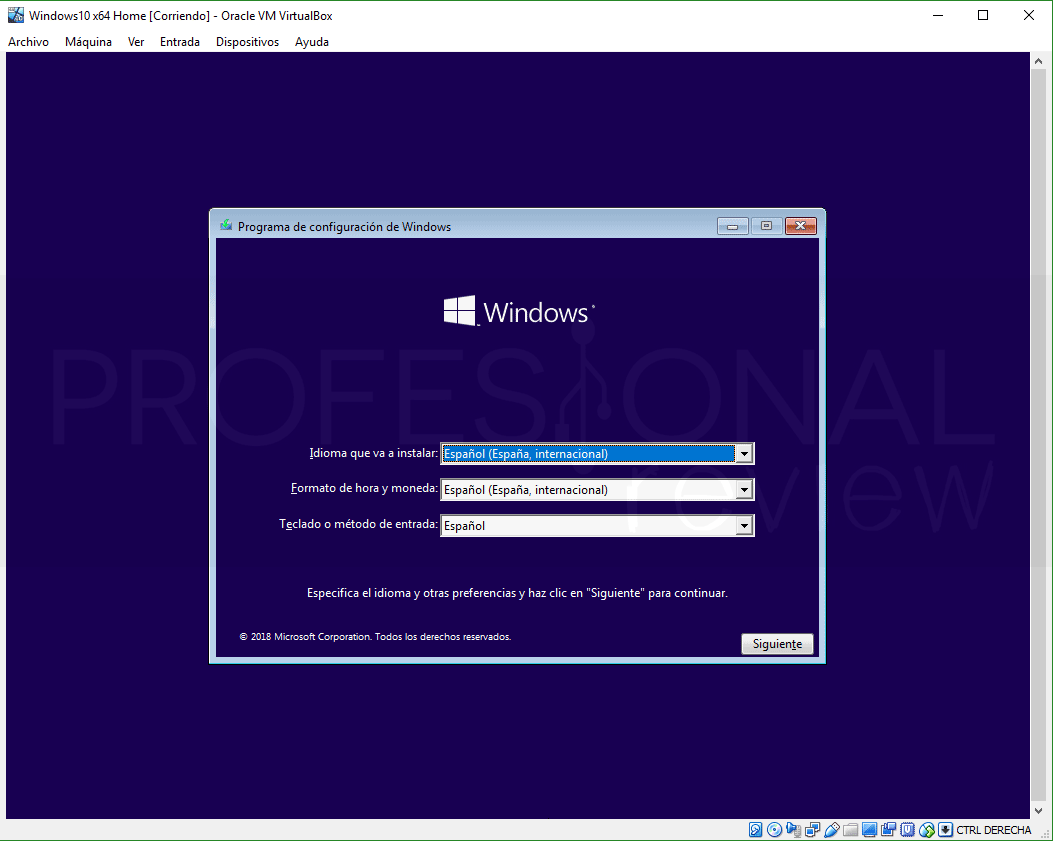
Para iniciar la máquina virtual pulsamos sobre el botón de “Iniciar” de la flecha verde grande
Para iniciar la máquina virtual pulsamos sobre el botón de “Iniciar” de la flecha verde grande
n

·
De forma automática se iniciará el CD de
la imagen ISO como si fuera un equipo normal y corriente sin un sistema
instalado.

El proceso de instalación se realiza tal y como se hace de forma normal
en un equipo físico por lo que no entraremos en el proceso de forma detallada

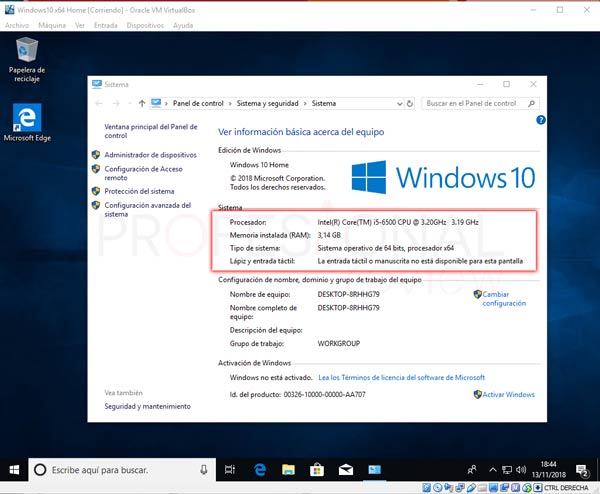
Ya tendremos creada nuestra máquina virtual con un sistema operativo instalado en el disco duro virtual.
Ahora podremos hacer prácticamente las mismas cosas que hacemos en nuestro
equipo físico.
Procedimiento en ingles:
The first thing we are going to do is create a
new virtual machine from scratch. The operating system that we are going to use
will be taken from an ISO file downloaded using the Microsoft Media Creation
Tool application. Let's start the process.
The first thing we should do is open
VirtualBox and click on the "create" button. From
this way we will start the virtual machine
creation wizard
· A window will appear in which we must press
the lower button “Expert Mode”
· On the first screen we put the name of the
machine and choose which system we want to install
· We must also allocate an amount of RAM to the
virtual machine. Depending on what we have available in our team we can assign
a customized amount
· As it is a new virtual machine, we choose the
option “Create a hard disk
· New virtual ”
· Once everything is ready, click on “Create”
· To choose a directory where to create our
machine, click on the folder icon with the green arrow in the upper right
· Now we must allocate the amount of storage to
the virtual hard disk. We can assign what we really want, because VirtualBox
will create this space dynamically on the physical hard disk.
· We choose the option “Reserved dynamically”
· As an extension of the virtual hard disk we
recommend choosing VDI (native of VirtualBox) or VMDK (native of VMware) or VHD
(native of virtual Windows disks)
· Now we click on “Create
· To open the virtual machine configuration
options, click on the virtual machine, right-click and choose “Configuration”
· We go to the "System" tab and place
ourselves on the "Processor" tab
· We will choose how many cores the virtual
machine can use
·
The following will be to associate the ISO image of the operating system to the virtual machine to be able to install the system
· Click on "Storage"
· Select the CD icon in the “Storage devices” section
· On the right side, click on the CD icon again and click on “Select virtual optical disk file”
· Now we will have to look in the file exporter where we have stored our ISO image of the operating system
·
To start the virtual machine click on the "Start" button of the large green arrown
· The CD of the ISO image will automatically start as if it were normal and current equipment without an installed system.
The installation process is carried out as it is normally done on a physical device, so we will not enter the process in detail
We will already have created our virtual machine with an operating system installed on the virtual hard disk. Now we can do practically the same things we do in our physical equipment.


No hay comentarios:
Publicar un comentario